Create a Remix App
The Remix plugin generates an opinionated web application using the following key technologies:
- Framework: React 18 + Remix
- Styling: Plain CSS or Tailwind CSS
- Linting:
Code Shaper ESLint configuration
– this is a stricter, production-grade configuration than what you get using
create-remix.
You can add additional libraries and frameworks depending on your needs.
The Remix generator does not yet include testing and Storybook support. You can get the latest guidance on these by following the references below:
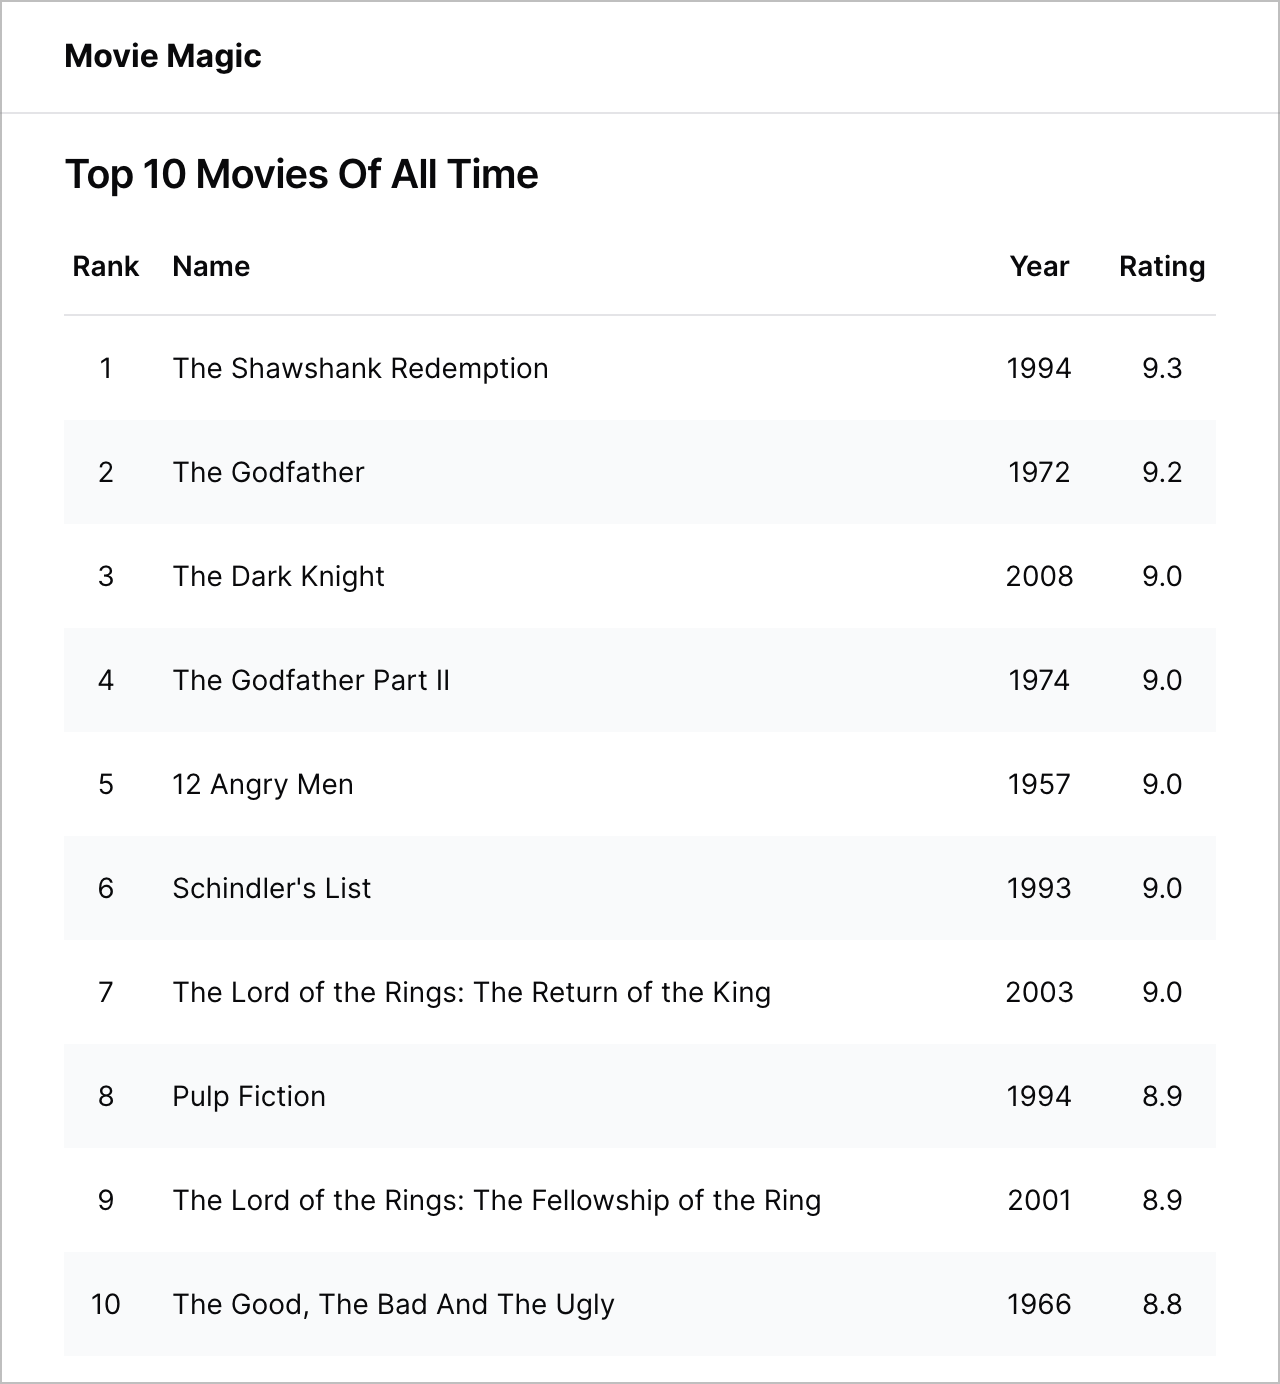
This section provides basic instructions for generating a web application using the Remix plugin. We'll then show you how to extend this application using additional generators and popular libraries. The final application will show a list of top 10 movies as shown below. You can find the completed example here.
Prerequisite
Make sure that you have the movie-magic repository set up as described in
Create a new repo.
Install Remix plugin and generate an app
Install Code Shaper plugin for Remix.
npm install @code-shaper/remix
Now generate a Remix application. By convention, applications are created in the apps directory. Let's create one there.
npx shaper
? Which plugin would you like to run? Remix
? Which generator would you like to run? app
? Application name? movie-magic-remix
? Parent directory? apps
? Package name used for publishing? @movie-magic/movie-magic-remix
? Would you like to use Tailwind CSS? Yes
Now execute the following commands for further setup and commit of all changes:
# Install dependencies:
npm install

# Build and run the app to make sure it works
npm run build
npm run dev

# Point your browser to http://localhost:3000/.
# You should see the running app.
#
# Note: If you have another app in this repo that
# runs on port 3000, you should change the port for
# this app in `apps/movie-magic-remix/package.json`.
# Search for `3000` (2 places) and change them to
# something else.

# Commit
git add .
git commit -m "chore: add movie-magic-remix app"
The app is now ready to customize to your needs.
Extend the application
Let's see how we can extend our application to show a list of top 10 movies. Run the following command in the root directory of your repo to install the clsx library that we will use for this example.
npm install clsx --workspace @movie-magic/movie-magic-remix
Do not run npm install or npm ci in any of the subdirectories. It will break
the build. There should be only one package-lock.json file in the entire repo
(at the root). See
Turborepo docs
regarding this.
Create TypeScript definitions
Let's start by creating TypeScript definitions for data structures that we will
need in our app. Copy the following 2 files from
the completed example
into your apps/movie-magic-remix/src/models folder:
index.tsMovie.ts
When copying files from the completed example, do take a minute to understand them. They are well commented, so it should be easy to understand what they are doing.
Create a MovieList component
Now we will create a MovieList component that receives a list of movies and
displays it. Such components are called presentational components - they don't
worry about how the data was obtained, their job is to simply render it.
Copy the MovieList folder from
the completed example
into your apps/movie-magic-remix/src/components folder.
Add MovieList component to the home page
Now let's add the MovieList component to the home page and supply it with a
list of movies.
Start by copying the data folder from
the completed example
into your apps/movie-magic-remix/src folder. data/movies.ts contains the
list of top 10 movies.
Now overwrite the home page with the following code:
import { MovieList } from '@/components/MovieList';
import { getMovies } from '@/data/movies';
import type { MetaFunction } from '@remix-run/node';
import { json } from '@remix-run/node';
import { useLoaderData } from '@remix-run/react';

export const meta: MetaFunction = () => [
  { title: 'Movie Magic Remix' },
  { name: 'description', content: 'Movie Magic Remix' },
];

/**
 * provides list of movies to the page
 */
export const loader = async () => {
  const movies = await getMovies();
  return json({ movies });
};

export default function Index() {
  // get the list of movies from the loader
  const { movies } = useLoaderData<typeof loader>();

  return (
    <div className="container relative mx-auto max-w-screen-xl px-8 py-4 space-y-2">
      <h1 className="text-xl font-semibold tracking-tight">
        Top 10 Movies Of All Time
      </h1>
      <MovieList movies={movies} />
    </div>
  );
}
Here we added a loader function to provide movie data to the page when
rendering. On the client-side, we use useLoaderData() to get that data and
supply it to MovieList.
Now execute the following commands to run the app and see the final page:
# Install dependencies:
npm install

# Build and run the app to make sure it works
npm run build
npm run dev

# Point your browser to http://localhost:3000/.
# You should see the running app.
Commit your code
# Commit
git add .
git commit -m "feat: add MovieList to the home page"
Congratulations! You have successfully built a Remix web application from scratch in just a few minutes. This is the power of Code Shaper.